Written walk-through guide - coming alongside this Youtube Tutorial:
What we used:
|
Also available: 4h+ Course: Track from Start To Finish |
Hey! In the first part of this tutorial we focused on the drums. If you haven't seen it yet make sure to check it out. Anyways, in this part we'll focus on instruments which will add some life into our track!
Here's what we're going to create:
I. Bass
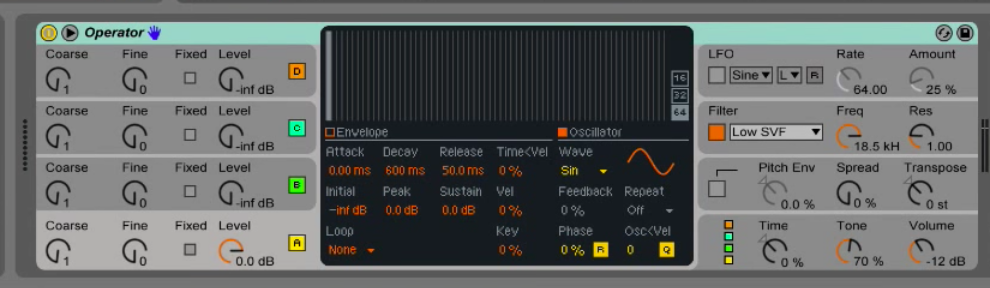
1. Let's make a new MIDI track and throw an Operator instrument onto it. We'll quickly change the oscillator type (under "Wave" on the synthesizer) to sinewave - sinewaves are very smooth and are generally good for bass sounds.
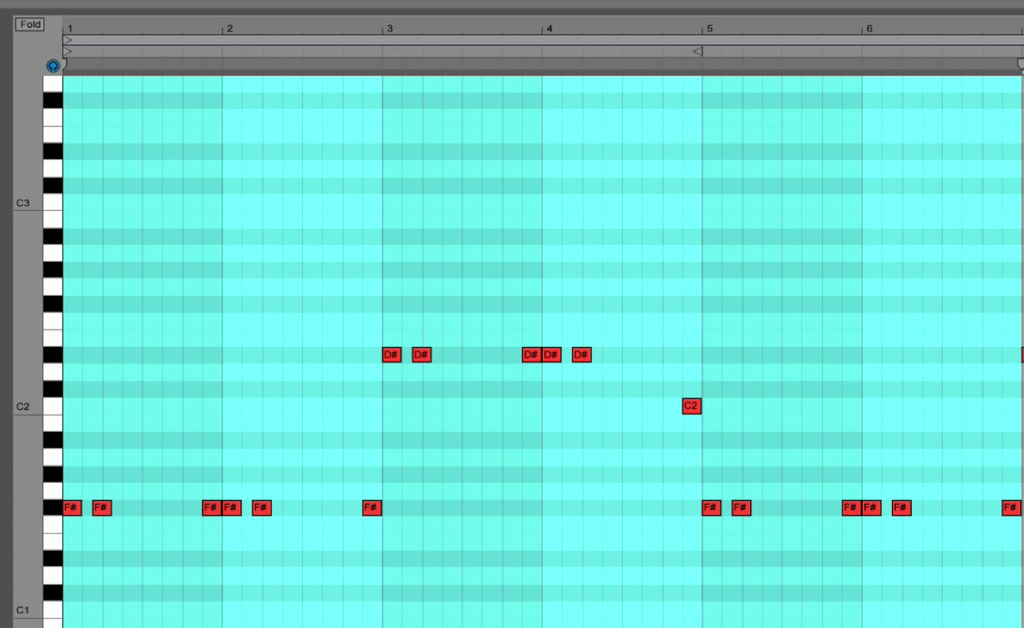
2. After inserting a new Clip go into the Piano Roll and input notes: F# and D#. If you'd like to learn more about chord progressions make to check out our Harmony course.

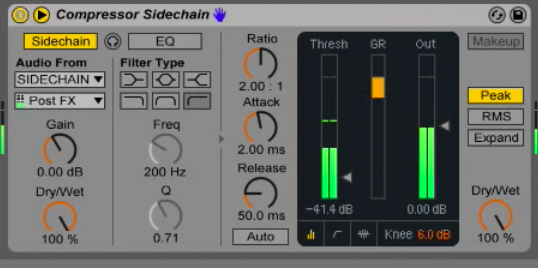
3. Place a Sidechain Compressor on this track, set it to the Sidechain track and bring down the threshold - it'll create a very cool pumping effect.
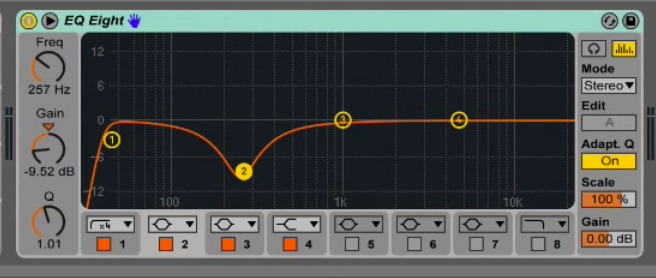
4. I also added an EQ8 - I cut out some very low frequencies and brought down a little bit of the mids.
This is what our beat sounds like with the bass:
I also inserted another MIDI Clip and changed the rhythm of the notes:
II. White Noise
Let's throw another Operator on a MIDI track, set the oscillator type to White Noise, EQ out everything but the very high frequencies and place a Sidechain Compressor onto it.

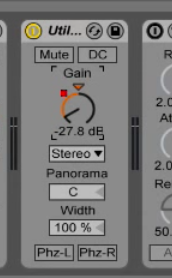
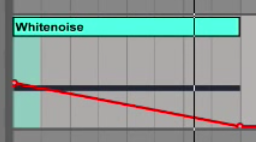
I also threw a Utility onto the track and automated the Gain - the volume of the white noise. Why didn't I automate the volume of the track? Because if I'll want to change the overall volume of the track later, I would have to adjust the whole automation curve - which is sometimes pretty painful to do.
Here's what we've got so far:
III. Pad

Let's create a pad synth with Operator. To do that, on another MIDI track with Operator loaded up, switch it to Parallel mode - click these four squares and change them to the mode on the right. This way the oscillators will play independently - they won't go one into another.
In Operator, select these wavetables: Saw64, Square16 and White Noise + turn on a Lowpass Filter (Low SVF in my case) and take it a little bit down.

I also placed a Sidechain Compressor there for a cool pumping effect, another Compressor, a Chorus to widen and smoothen the sound and a Reverb effect.
Next thing, I placed this midi clip on the track - you can either insert those notes yourself or get them from our Project File here.

Next thing - I grouped my Operator synth with my effects by holding Shift, selecting them, right clicking and selecting Group.
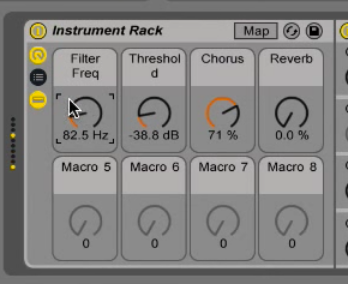
Now that I've got my effects grouped, I mapped the Operator Filter Frequency to a Macro control (right click + map to Macro 1) and repeated the same process with Sidechain Threshold, Chorus Dry/Wet and Reverb Dry/Wet (right click + map to Macro 2 etc.) I also renamed the knobs to make it clearer which Dry/Wet knob corresponds to which effect.
Here's what we've got so far:
IV. Sweep
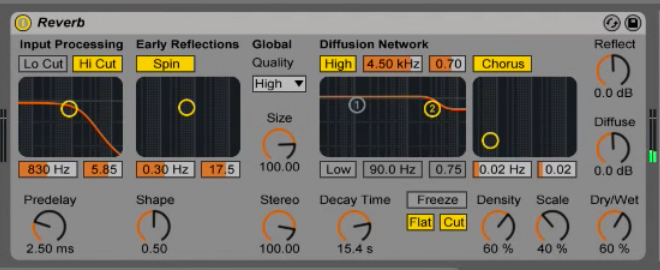
To add some dynamics to the track we can create a sweep sound. To do that just copy the Operator Pad that we've created, and change the Reverb Decay Time to 16 seconds - a really long tail.
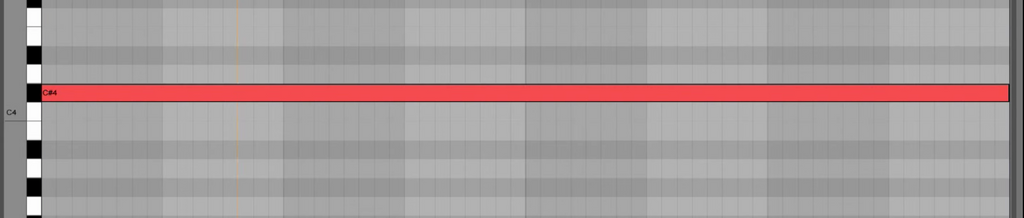
I inserted a new Clip onto this track - it's just a C# note and automated the volume with a Utility.
Here's the sweep sound with the kick:
V. Operator Arp
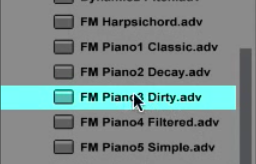
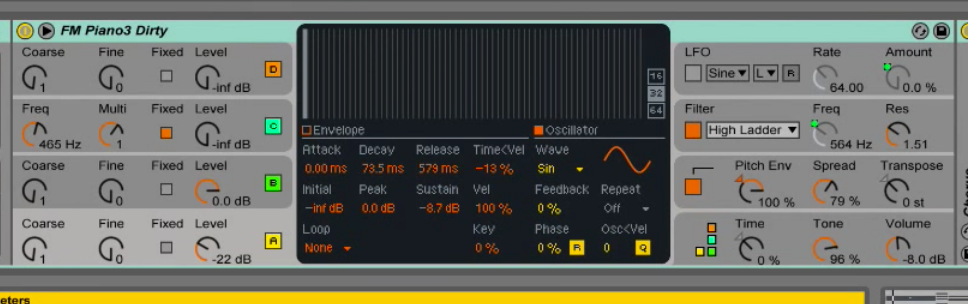
To add another cool element to the song you can duplicate your Pad track by selecting it and pressing Cmd+D. Now we'll change the Operator preset to "FM Piano3 Dirty". You can find it in the browser by cicking the arrow on the left side of Operator. Just drag it onto the Operator device and the settings will change.
Alright, so this sound is going to be an Arpeggio. To do this, drag an Arpeggiator with a preset "Housier than Thou" from MIDI effects before our Instrument Rack - just like in this picture.
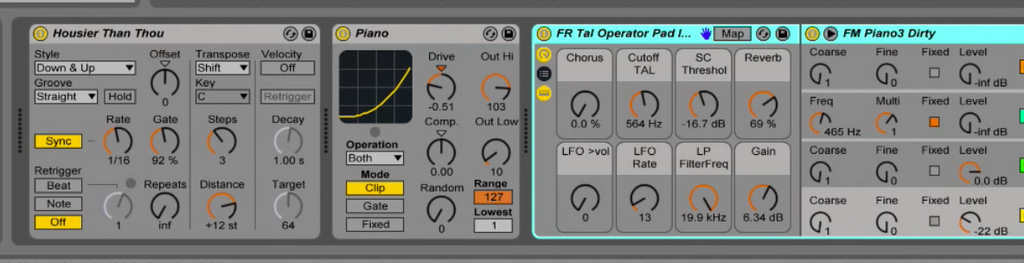
You may ask: "Why are we dragging effects before the instrument?" The answer is - to alter the MIDI information from our MIDI clips before it gets played by the instrument. The chain in Ableton looks like this:
MIDI Clip -> MIDI Effects -> Instrument -> Audio Effects
Without the Instrument there would be no sound. Without the MIDI Clip the instrument wouldn't have the notes to play. MIDI Effects change the MIDI information from Clips and Audio Effects alter the sound after it comes out of the Instrument. Makes sense?
When you'll press play on this clip, you'll notice that the instrument isn't playing chords anymore - but single notes played accordingly to the settings in the Arpeggiator.
What you can do as well is grab a Piano MIDI Effect and place it before the Instrument. That will give the velocities of the notes a Piano feel - just to make it sound a little bit more real.
I also put a Sidechain Compressor on this track and an Auto Filter. I also automated the Filter Frequency - so that the filter takes out the very high frequencies and it makes the sound clearer later.
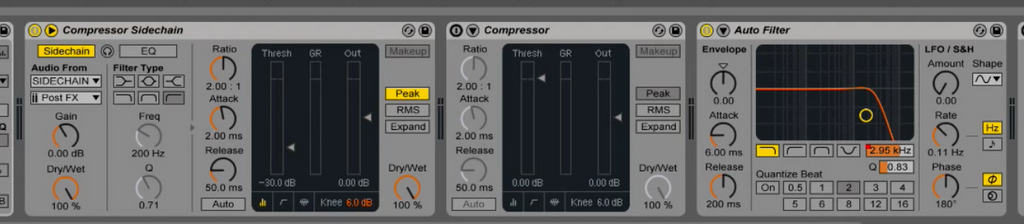

To automate the Filter Frequency (which is at the bottom of the Filter "display") just click at the Frequency Level and it a red line should pop up over your track. You can then adjust the red line to create the automation sweep.
Here's our Pad sound with this Operator Arp and some hihats in the background. I also automated the Cutoff Frequency on the Auto Filter of the Pad.
VI. Percussion
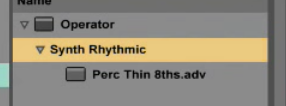
Operator can be also used to create percussion sounds. To do that just duplicate your "Operator Arp" track and change the preset of the instrument to "Perc Thin 8s" from Rhytmic Synths. Make sure to delete the Arpeggiator and the Piano - we won't need that for this sound.

I also inserted a couple of effects onto this track:
1. Utility to bring up the volume of the signal,
2. Reverb,
3. Glue Compressor with the preset "Catch Peaks" (we're catching some of the highest volume hits and bringing them down),
4. Chorus
5. Simple Delay
You can mess with the effects settings yourself or just copy my settings below.

Here's what this instrument sounds like:
Alright, that would be all the Instruments needed for this track! Check out the part 3 of this tutorial in which I'll explain the Arrangement and we'll expand these elements into a full track.
Good luck with your Deep House production!
|
More Info: - Grab this Ableton Live project file - Grab the Easy Start Pack for Ableton Beginners - 4h+ Beginners course: Producing a TRACK from START TO FINISH |
keywords: Ableton Live Template, beginners tutorial, beginners guide to ableton, how to ableton, how to write music in ableton, how to make a track in ableton