At PML we love sharing our sound design tips with you. This time we've prepared 10 Xfer Serum tips we found useful. Some of them we found in the SERUM Manual, which is a great read!
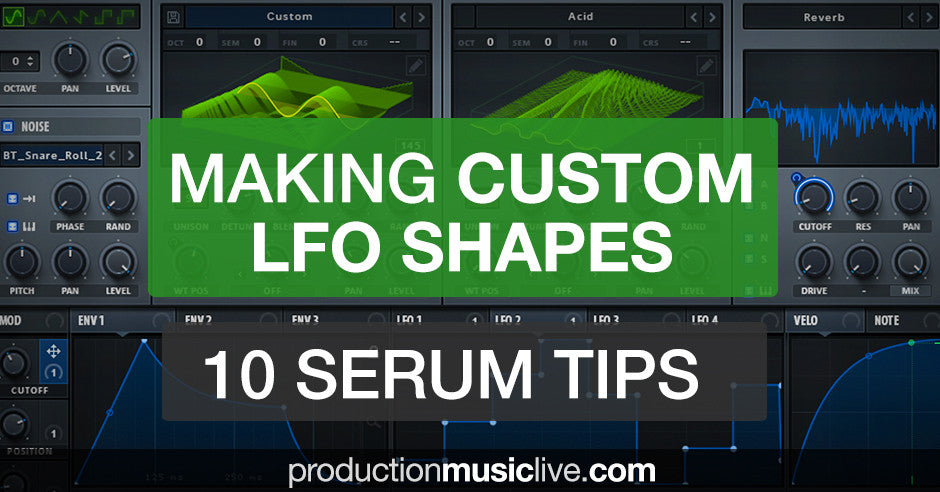
1. Customizing LFO Shapes
- double-click to Add or Remove points
- shift-click to draw steps on the Grid (similar to a step sequencer)
- alt-click+drag Points to snap points to the the Grid
- alt-click+drag any Curve Point to move all curve points at once.
- click+drag on background to multi-select points
- command-click+drag a point (ctrl-click on Windows) to multi-select points for a relative movement (rainbow color will appear on points, dragging them in this state will make closer points move more and further points will move less).
- control-click (right-click on Windows) to bring up a pop-up menu for additional features, such as setting the segment 'shape' for shift-click, deleting all multi-selected points, or assigning the start or loopback points.
- shift-command click (shift-control-click on Windows) on a point when in Env mode, to set this point as the Loopback position (if you wish no Loopback position set it on the very last point)
2. Typable control values
To insert precise numeric values to a control, you can double click the control knob/box & type in desired numbers. Make sure that the setting "double click for typable values on controls" in "GLOBAL" tab is turned on - otherwise this option won’t work.
Btw, do you know which place Serum holds on our Top 10 Most Popular VST list?
3. Hyper/Dimension
Both of these effects can be used to add stereo width to a sound. Hyper has a "unison" option, which creates additional voices just like the "unison" under an oscillator. By detuning the duplicated voices you can create a larger, wider sound. Dimension acts in a similar way, but instead of detuning the voices, it delays them & modifies their amplitude.
4. Nasty Filter
To completely distort & destroy any sound, try processing it through the Reverb filter from the Misc section. The lower the Cutoff, the more distorted the sound gets. Nice effect for dirty dubstep-style basses.
Check out this other article with 10 more SERUM tips!
5. Modify filter curves
Did you know that you can modify some filter curves by tweaking the "Fil Var" knob? Some filters don’t have a name for that knob, but the knob still affects the sound.
6. Lead Voicing Controls
To create a gliding lead sound, try turning on the MONO button in the VOICING section. That will make sure you’re playing one note at a time. The LEGATO button will make sure the sound doesn’t restart every time you play a new note. The ALWAYS option above the PORTAMENTO will make the lead glide even if the MIDI notes don’t overlap.
7. 'Scaled' switch
This switch, located on the right of the Portamento knob, is potentially useful for melodic leads where you wish there to be a less noticeable portamento on short intervals.
When enabled, the portamento between closer notes will be faster (and between notes further apart - longer).
8. PHASE knob
The Phase knob changes the starting point of your waveform. It’s useful for correcting phase between two playing oscillators (different tone, different phase cancellation). You can also use it to fix pop sounds that appear with very fast attack settings on some oscillators.
9. Sampler in Serum
Did you know that if you drag audio samples onto the Noise OSC you can use Serum as a sampler? Try importing instrument notes (like violins, guitars etc.) and modify waveforms with them (eg. using FM synthesis). By doing this you can make your synths sound less "digital". It’s also nice for layering in samples without having to make new tracks in your DAW.
10. Envelope Zoom
For more control over your envelopes, you can zoom in using the "magynfying glass" area on the right (click+drag up or down). A nice option is the "Lock" button above which automatically zooms in at your envelope to fit the entire display.
See this article for 10 Ableton Live Audio Effect tips & tricks.
And now, here's 3 more bonus tips!
1. Create custom wavetables
To create original sounding synths it might be a good idea to start from original wavetables. To enter the wavetable editor, click the pencil in the corner of the oscillator display. Something I like to do a lot is to add in another wavetable, draw a custom one, and select one of the MORPH options above. Now if you tweak the Wavetable position, you’ll get a nice blend between the two waveforms. Try also exporting waveforms from other synths (like Massive or Sylenth1) and dragging them into SERUM’s wavetable display.
2. CHAOS
There’s a hidden LFO in Serum, called Chaos. You can find it in the MATRIX tab, in Sources. There’s Chaos 1 and Chaos 2, which are randomized by a different algorithm. You can find their settings in the GLOBAL Tab.
3. MATRIX tab
Did you know that you can customize the response of every envelope or LFO you use? It’s easily done in the "Curve" area in the MATRIX tab. The tab is also useful to modify the directions of your Envelopes and LFOs, their amounts. You can also easily combine two modulation sources using the AUX SOURCE option. The Mod section can be used to combine the two sources "in the same direction" (*), invert the second mod source (* inv) or completely bypass the second modulation (Bypass).
Good luck with your sound design. See you in the next articles :)
k-pizza
I’m a music maker who likes to share his experiences with other producers. I regularly show up with tutorials, articles & project files at PML.
Skype lessons with me: http://bit.ly/pml_s_one2one
Learn how to use Serum with our full course:
New: 5h+ Course: Sound Design with Xfer Serum