
Imagine you’re relaxing and enjoying some slow ambient music. Because it’s low in volume, you crank your beefy speakers up to get a better listen. All of a sudden, a new track starts playing – and it comes in loud.
You’re immediately thrown out of your relaxing vibe and into an adrenaline-fueled shock.
"Why doesn't this streaming service regulate their LUFS!?" you shout as the music now blares twice as loud as before.
Thanks to loudness standards and measurements in popular streaming platforms, this rarely happens anymore.
But how does it all work, and where does LUFS come into measuring loudness?
In this article, you will learn what LUFS is, what LUFS you should aim for when mixing and mastering for platforms like Spotify and YouTube.
You will also understand the differences between RMS and LUFS.
Let’s dive in.
What is LUFS?
LUFS, Loudness Units Relative To Full Scale, is a standard loudness measurement unit for broadcasting, radio, TV, and podcasts. It’s similar to RMS in the way it measures average loudness over time. But there is a difference.
LUFS gives you two main measurements:
- Short-term LUFS is an analysis of the last three seconds of audio played.
- Integrated LUFS gives you the LUFS for the entire duration of the track played.
That means you can use short-term LUFS to get a quick loudness measurement, perfect for the loudest parts in music.
But if you want a more thorough measurement, you look at the integrated LUFS display, which gives you the average loudness of your entire played piece.
When you know the integrated LUFS, you can optimize loudness to fit different streaming services' normalization processes.
What’s the benefit of measuring LUFS over RMS?
At first glance, RMS and LUFS seem similar. Both analyzes and are measurements of loudness. And if that’s what you’re looking for, how can you go wrong with either?
There’s a big difference.
While RMS analyzes and measures the average power of your audio signal, LUFS considers human perception.
That means; how we perceive loudness.
For example, you know the horrible sound you can make with chalk on a blackboard? Because the sound's frequencies and qualities are intrusive, you don’t need many decibels of sound to perceive it as loud.
You don't perceive the same decibels on bass frequencies as equally loud.
That means LUFS gives a much more accurate loudness measurement than RMS because it considers the human listening experience.
Music aims to be a balanced listening experience frequency-wise. But the genre variations and even differences between instruments and masters can cause loudness perceptions to shift.
With LUFS standards, you get a similar loudness result for all music when streaming online.
What LUFS should you aim for?

Today, music producers are mostly playing their music live in venues and releasing through streaming services like Spotify, SoundCloud, and YouTube.
These different channels all follow the best loudness standards and practices for delivering a balanced listening experience.
But how many LUFS do you need when mastering for different channels?
A happy medium of -14 dB LUFS is a great goal.
And the same goes for what LUFS you can mix to.
For example, Spotify adjusts tracks to -14 dB LUFS. That means tracks louder than -14 LUFS will get adjusted down in the normalization process. They recommend keeping your loudness level of your master at this level, with a -1 dB true peak maximum to ensure no extra distortion is introduced during the transcoding process.
YouTube is around the same loudness area – and so is most other streaming sites.
Even though the differences between other streaming services might be there, they are often small. If you aim at -14 dB LUFS, you will ensure no extreme quieting is taking place, squashing the dynamics of your tracks when it’s released.
Check if your track will get a loudness penalty and get turned down in volume here.
How To Measure LUFS
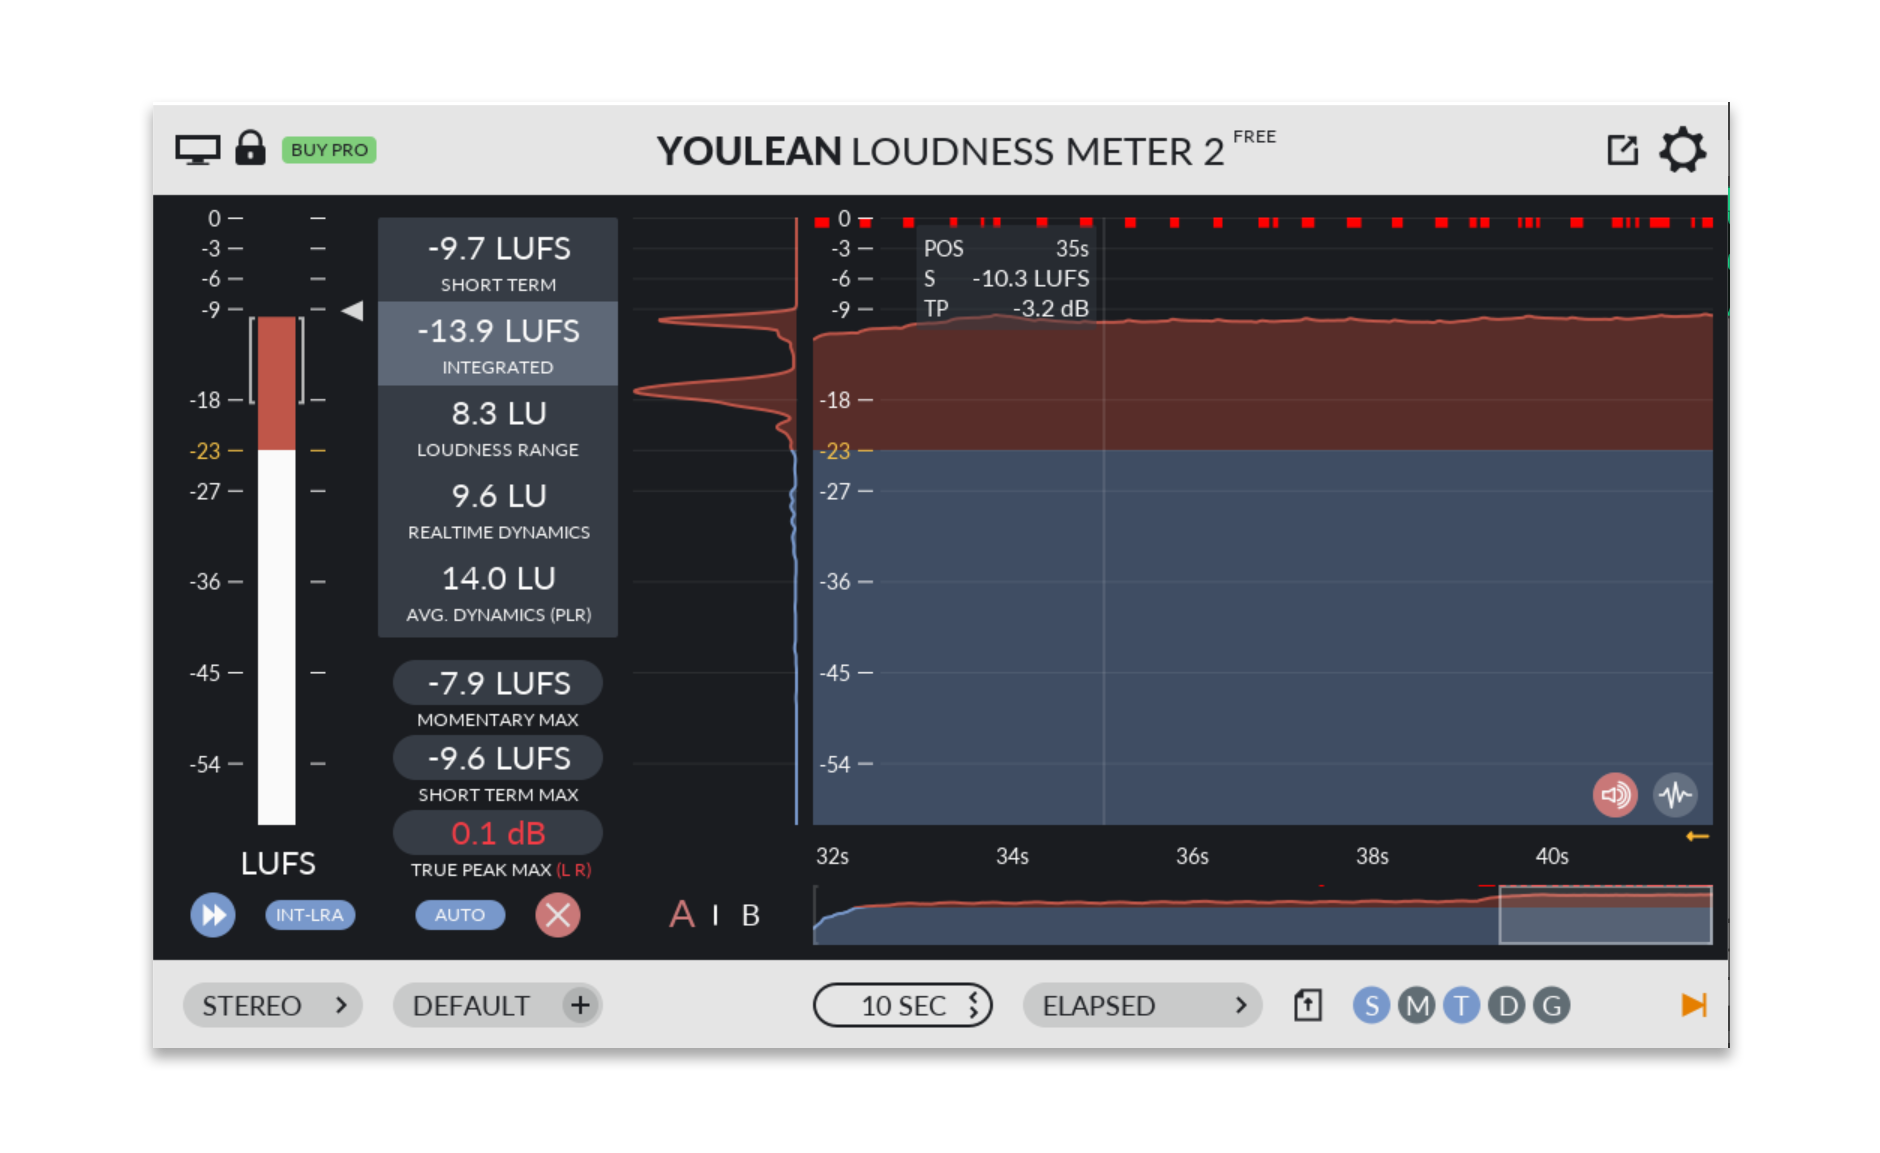
Many plugins can measure LUFS in your DAW.
We covered one of them in our Top 11 Free VST Plugins (2021) article, called Loudness Meter from YouLean.
It’s a free LUFS meter that measures everything from short-term to integrated LUFS, loudness, and dynamic range, including momentary LUFS – measuring the last 400 milliseconds of audio played.
Is the YouLean Loudness Meter the best LUFS meter plugin out there?
Well, considering it's free, it's pretty darn good.
Download here.
Summary
Thanks to LUFS, we can have a balanced and pleasurably loud experience whether listening to music on popular streaming platforms or watching TV.
The LUFS measurement is accurate and considers human perception and listening experience when measuring the audio's perceived loudness. Because it does that, it’s a more true representation than the RMS measurement.
When mixing and mastering, aiming for -14 dB LUFS ensures you don’t get a loudness penalty when uploading to the most popular streaming platforms like Spotify and YouTube.
Because LUFS standards effectively stop the loudness wars where artists try to battle each other by making their music as loud as possible, there’s no need to go overboard anymore.
What’s better is keeping a great dynamic range within your music while keeping your loudness levels in check.
If your track is a bit lower in volume, streaming services can increase its loudness.
Thanks for reading, and see you in the next article.
 Pelle Sundin is a Swedish music producer and writer, active with his chillout project PLMTRZ. He also produces psytrance. When he's not producing, he surfs, skates, and chugs coffee. |
Mix and Master
Like a Pro

Take your music to the next level today!
The Mixing and Mastering bundle gives you access to 4 courses:
- starting from an "Ableton Live Only" mixing session with Francois,
- all the way up to a Masterclass with a mixing and mastering engineer Guido Werner, who uses the best plugins possible to master a Melodic Techno track.
What You Will Learn:
1. Mixing and Mastering your own tracks
2. Making your songs sound more powerful and loud
3. Giving your tracks a signature sound with balance and finesse
4. Using the most important and most effective tools like compressors, EQs, multi-bands and limiters.
What You Get:
- Masterclass - Mixing & Mastering Melodic Techno
- How to Mix a Track with the Best Plugins Available
- Mixing A Track From Start To Finish
- Mastering From Start To Finish
Click here to learn about the Mixing and Mastering Bundle.
