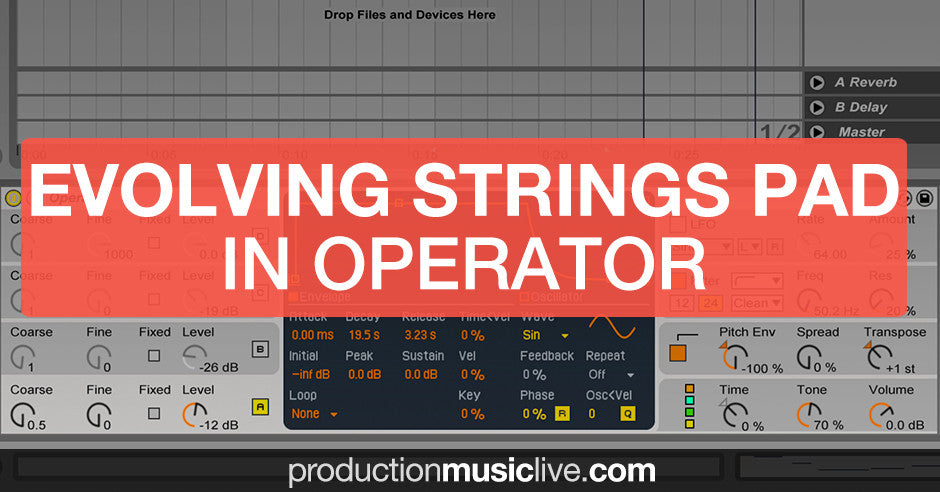
In this article we’re going to make an awesome Ableton instrument in Operator. We’ll go through all you need to know to make this patch even if you’re new to Operator. Here’s the patch we’re going to make:
You can download this patch here for free.
Required: Ableton 9.5+ Suite
Let’s get started!
Let’s load up Operator onto a MIDI track. Here’s what it looks like by default:

Now let me explain in short Operator’s UI. On the left of the device there’s four oscillators (they generate the sound). Then, the sound can be modified by using some of the sections on the right (LFO, Filter, Pitch etc). The center pad always shows the details of a selected section.
Before we begin make sure to deactivate the Filter section (2nd on the right, you deactivate things by clicking the orange buttons on the left of the sections)
Step 1: Oscillators
For this pad sound we’re going to use two oscillators - A & B. Both are going to be saw waves - very sharp sounding waveforms. By default the A waveform is a sinewave, so click on this dropdown menu and select Saw64:

Let’s do the same thing for the B oscillator - select the B section and change the waveform to Saw64.
Now we have two of the exact same waveforms playing. By default Operator uses FM synthesis, which routes one oscillator into another to create another shape. For this instrument we’re going to be using the oscillators separately (not routing one into another). To change this click on the fourth section on the right (with the four colorful boxes):

These boxes are oscillators A, B, C & D. Now on the center display you can choose between many modes for routing one into another. If we want them to play separately we need to choose the last option:

Now our oscillators are going to play independently. Let’s make the B oscillator play an octave higher by cranking the Fine knob to 1000:

Here’s what the instrument should sound like by now:
That doesn’t sound too pleasant, but we’re going to process it.
Step 2: Filter
Let’s turn on the Filter section.

The filter section cuts out frequencies - acts like an equalizer. We’re going to use the 12dB Bandpass setting and the Frequency knob at 825 Hz.
Bandpass is a filter curve which combines highpass and lowpass. Here’s what it looks like visually:

Now the instrument should sound like this:
Step 3: Reverb
Let’s now throw a Reverb effect onto this instrument. You’ll find it in Audio Effects in the browser.

The only parametres that we’re going to change are the Chorus position (the yellow circle on the black display under „Chorus”), which is adding more movement to the reverb. We’ll also crank the Dry/Wet position (almost all the way up, to 92%). The Dry/Wet controls the amount of this effect.

Step 4: Attack
The synth starts playing very suddenly. To make it fade in nicely, let’s go to both of our oscillators and set the Attack parameter to 50ms. To be precise you can click on the Attack value and type in 50.

Step 5: Moving effect
Now we’re going to create the moving filter effect. Let’s add an Auto Filter from audio effects.

This effect has several filter modes (like the bandpass we used in Operator) but this time we’re going to select a new filter mode added in Ableton 9.5 called Morph (1). That mode blends all the other modes together.
If you move the Morph knob (2), you should hear and see the filters changing. That’s the knob we’re going to automate to create the movement.
Assuming you’ve got some MIDI information in the Arrangement view, you can draw in the automation line:
1) Click on the Morph knob. A red line will appear over your MIDI Clip.

2) Click somewhere on the red line. A red dot will appear, which is called a breakpoint. You can move the breakpoints up & down, left & right by dragging them.

3) Add four breakpoints and place them to create this automation line (or one of your own)

MIDI notes of this progression:

That’s all I did for this instrument! Remember that you can download this rack for free here. Good luck with you operator sound design!

k-pizza
I’m a music maker who likes to share his experiences with other producers. I’m regularly going to show up with music and content at PML.
Listen: https://souncloud.com/k-pizza