Today I will show you how to work with MIDI in Ableton. Let’s get started!
By the way - if you'd like to learn more about making music in Ableton feel free to check out our new course where we're explaining all the basics you need to get started.
1. Quick setup (Ableton Basics)
Let me start at the default screen of Ableton. When you load it up for the first time, this screen should show up. What I want you to do is to press the Tab key on your keyboard - it will take you to a second view, in which we’re going to be working in.
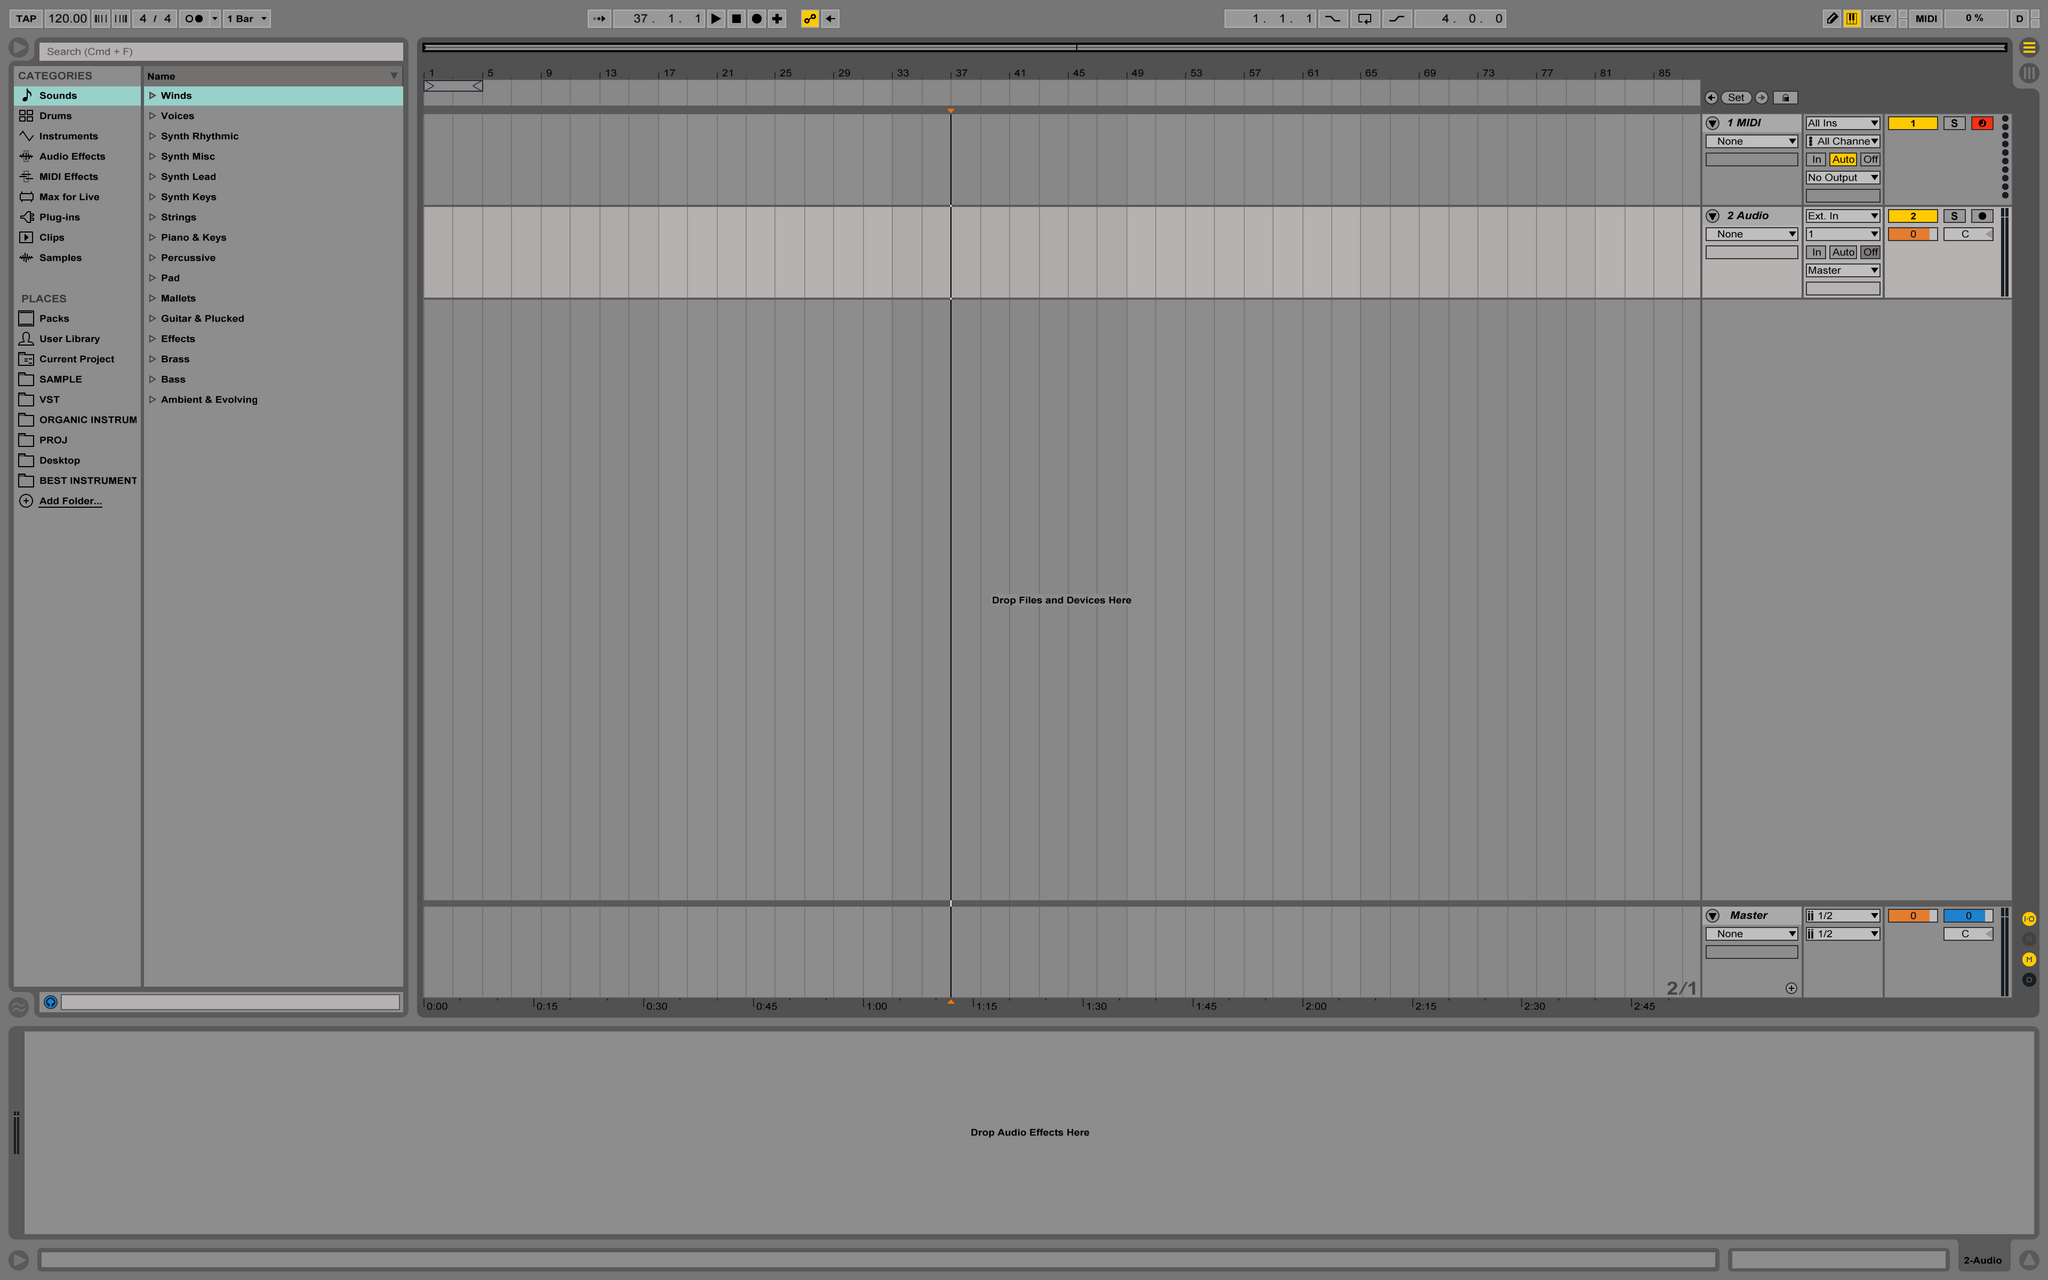
This second view is called Arrangement View. The first Session View is for collecting ideas and performing live, the actual production side of things always happens in the horizontal view.
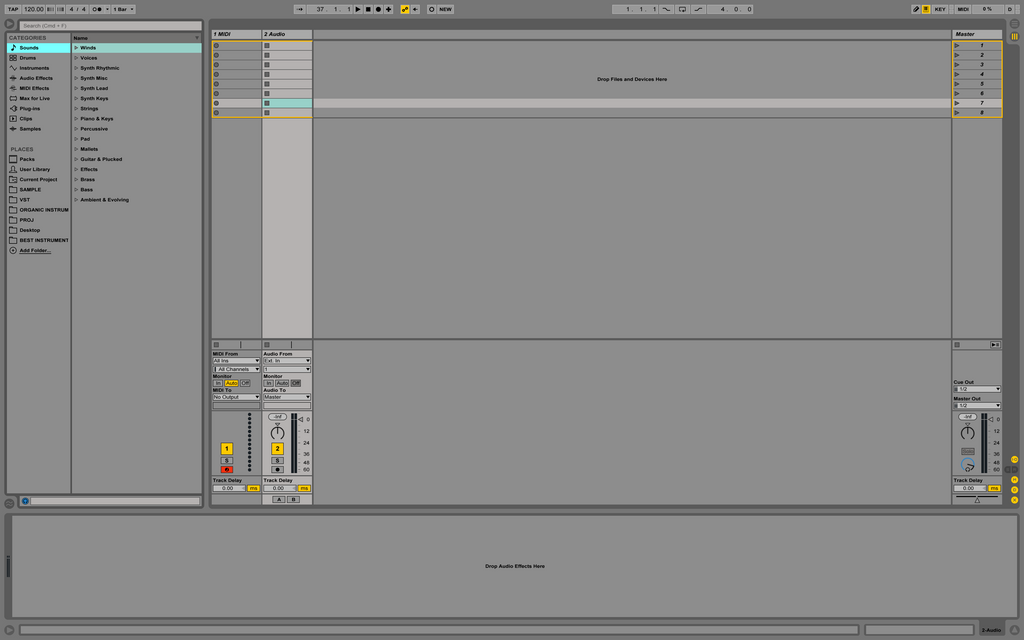
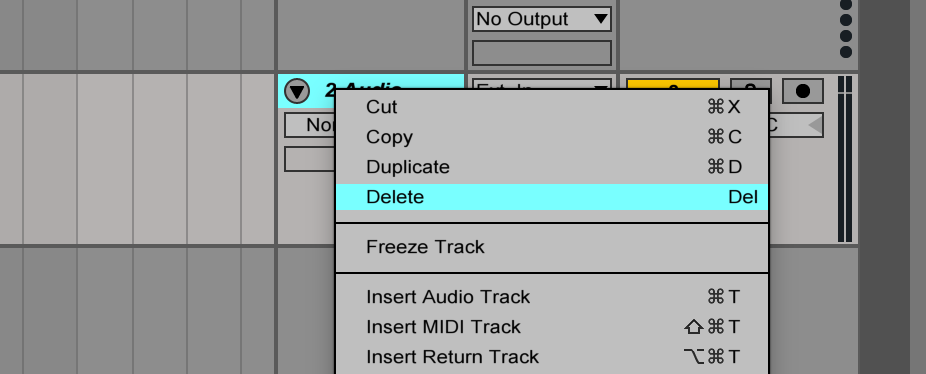
Now if you look on the right side you should have two tracks - one MIDI and one Audio. Thats because every single sound in Ableton is either coming from one type of those tracks. We will cover the Audio type of tracks later, so you can delete it by selecting it (clicking its name - Audio) and pressing delete (mac) / backspace (win). Another way to do this is to right click there and simply choose Delete
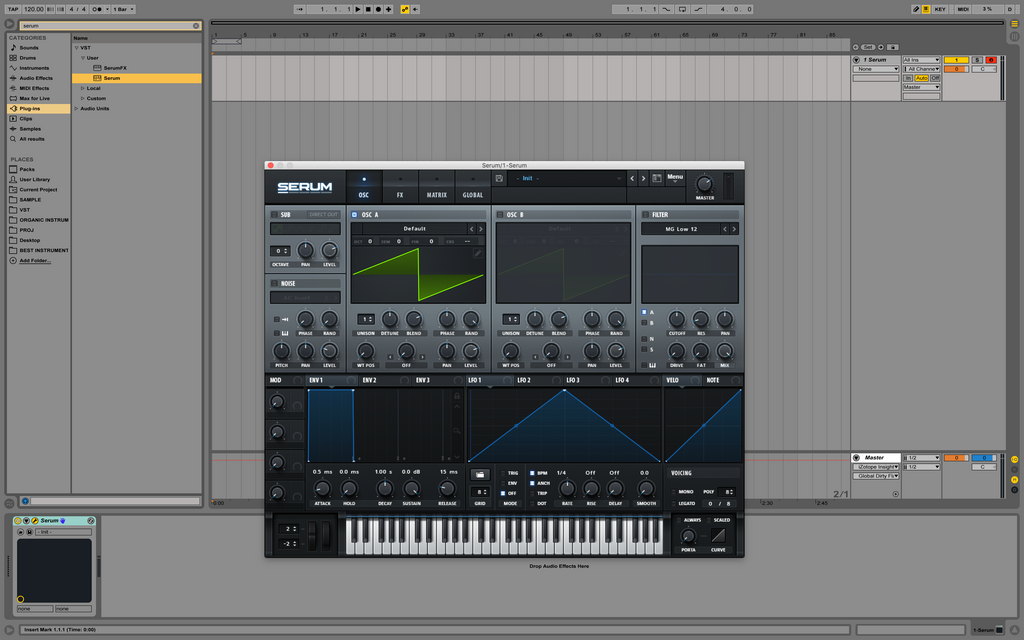
Now you have only got one track - MIDI. You can use the MIDI track to play any instrument you like - for example the piano, a synthesizer (like SERUM), or even drums. But before we can hear any sound, we have to load up an instrument. I’m going to take my SERUM synthesizer.
To load up an instrument onto the track, we need to find it. You’ll find a lot of instruments under „Instruments” - if you’ve got Ableton Suite, then check out the Grand Piano. You can type in „Grand Piano into the search bar at the top - when you click „Instruments” it should show up.
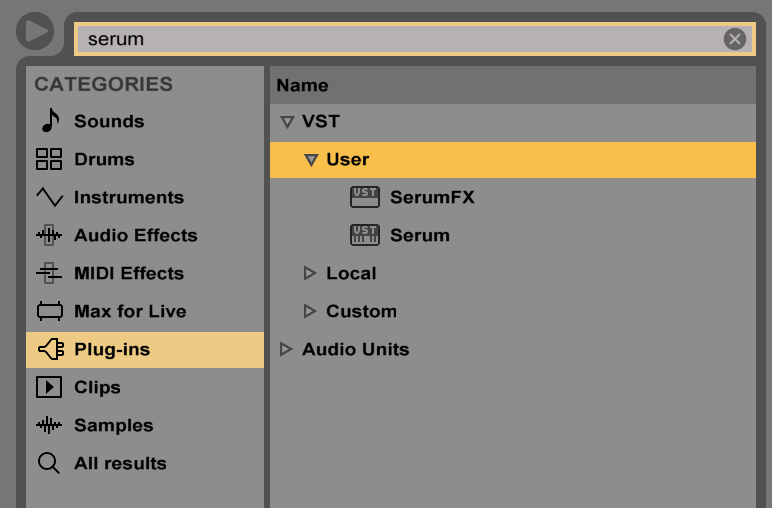
Now, to drag any instrument onto a track, you can just double click its name and it should open automatically.
Check out our new updated course:
"Making a track from Start to Finish"
***
2. Playing & Recording Instruments
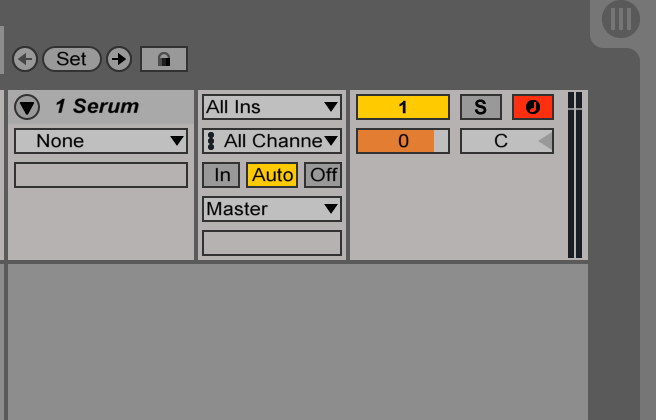
Now we have the instrument open. To hear its sound you can use your computers keyboard (or if you have a MIDI keyboard, but that’s entirely optional). Make sure this button with a dot inside (called ‘Arm’ button) is red. We use this button to switch between playing different instruments (when we have more tracks).
Now you should be able to play the instrument by clicking keys on your keyboard from A to L. You can move left/right on the keyboard by pressing Z/X. Play around and get used to it.
Now we could find a simple melody and record it into the program. That’s easy to do: you need to press two buttons which are at the top of the program. One of them is Record (circle) and the other one is Play (triangle). You can play around to find something cool. To play in time, you can turn on this button:
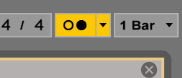
You will hear a clicking sound which will help you play in time. Now try to record something - it can be random notes. After you do that, if you click on the clip and press cmd/ctrl + L, the clip will loop.
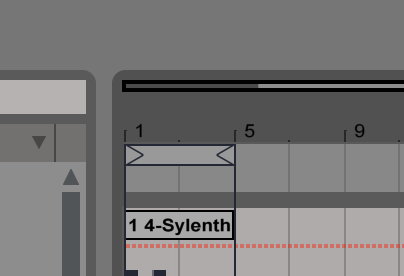
Let us take a closer look at the clip now. To zoom in at it, place your mouse on the dark grey area above the clip - the mouse should turn into a magnifying glass. If you click and drag it up and down, you’ll zoom in and out. If you click + drag it right and left, you’ll move around the timeline.
3. Clip View
Let’s zoom in at our clip.
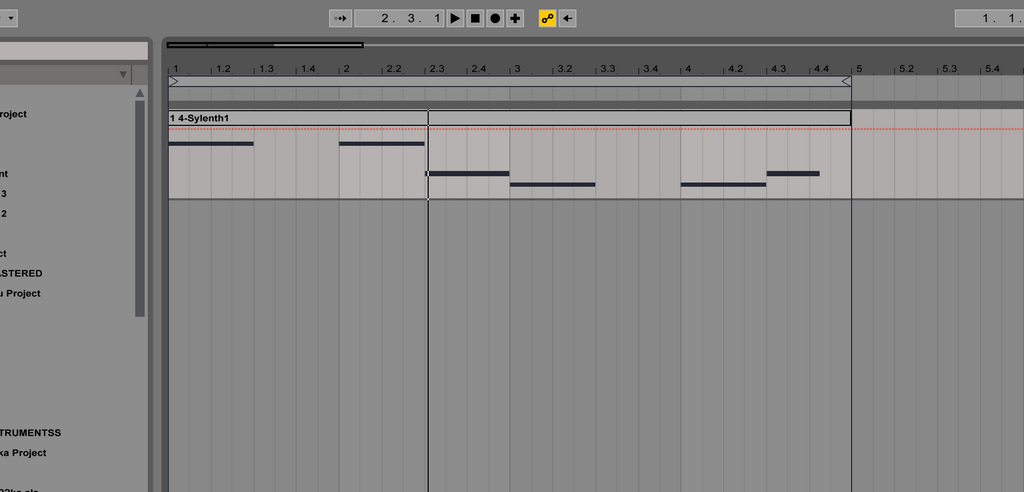
We still can’t see which exact notes those are. To see that, we have to select the clip (just click at the bar on top). Now that the clip is blue after selecting it, you need to look at the bottom of the program.

The bottom of the program can display two things:
- the devices on a track - that’s what we’re seeing right now, Serum is our device on the left,
- or it can display a selected clip in depth - to see or edit which notes we’re playing. That’s what we want.
Switching between those two views is done by clicking those two tabs at the bottom right corner:


The same thing can be done by pressing Shift + Tab.
***
Tip: Don’t confuse this shortcut with Tab, which switches between Arrangement and Session views (between our current view and the starting view with columns). These two are probably the most useful shortcuts in Ableton. When I was starting out the variety of views seemed a little bit confusing - there’s the Session and Arrangement view, and in each one you can change the bottom of the program to display the track devices or the selected clip.
***
Okay, so make sure you’re in the Arrangement view and that you’ve got the clip selected. After pressing Shift+Tab you’ll see the piano keys and the notes we’re playing.
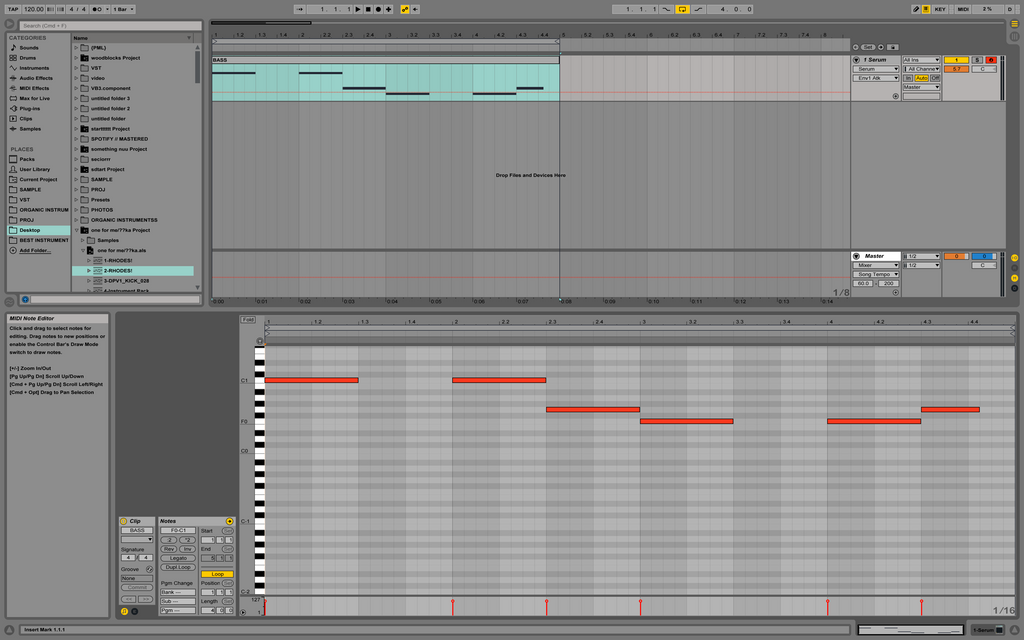
Now if you hover your mouse over the red blocks, you’ll see the note names on the left (near the piano keys) - it’s a good way to learn the key names.
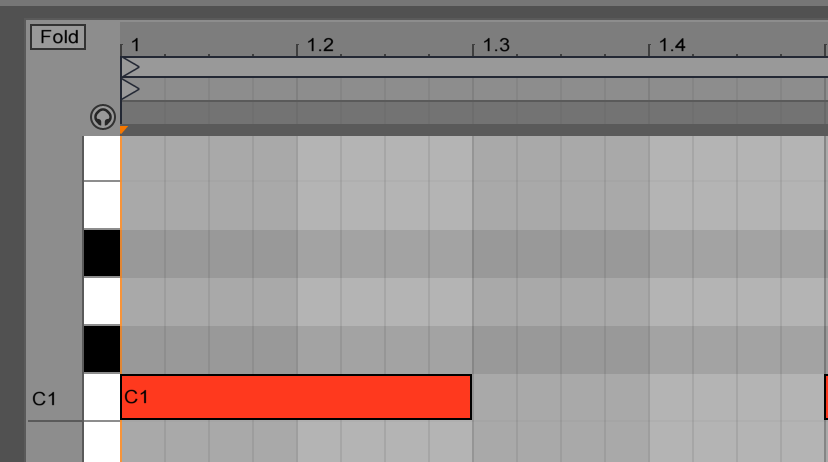
Tip: Make sure the Fold button is off (that it’s grey). The Fold button will make the piano on the left disappear and it will only display the notes that we’re playing already.
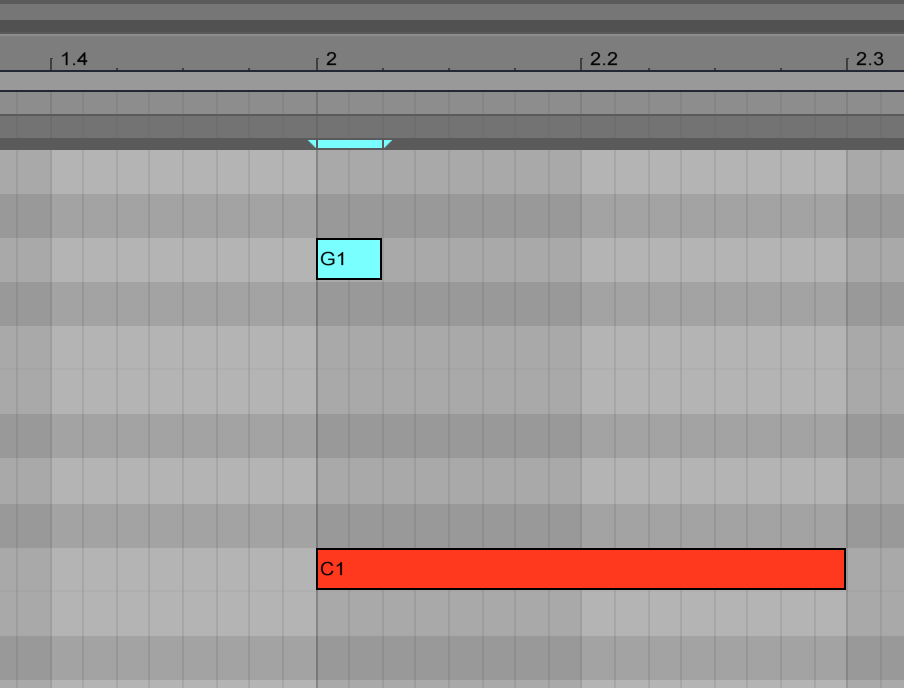
Now if you click the grey bar at the left and drag left/right, you’ll zoom out/in at the notes, and dragging up/down will make you move up and down the keyboard. The grey bar on top acts just like the bar at the top of the program: dragging up/down is zooming in/out, left/right is moving through the timeline.
The zooming is a little bit weird at first, so mess around with it until you’re comfortable.
Let’s say we recorded this clip. You’ll probably want to fix some things, to make sure you’re playing perfectly in time.
You can for example resize the red blocks by dragging their left and right sides. You can also add more notes by double clicking anywhere - it will add a note between the „lines“ which are called the Grid. When you zoom in, the grid will turn smaller so that you can make more precise adjustments. Try adding a new note (block) and resizing it.
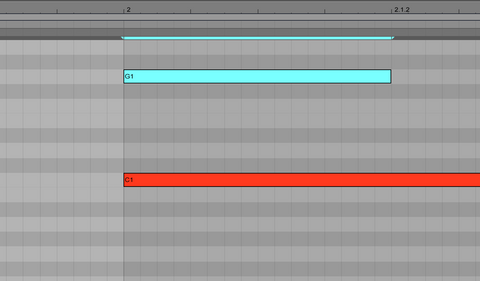
Remember to delete it afterwards by selecting it (clicking) and pressing delete/backspace.
4. Starting from a blank clip
You’re maybe wondering if it’s possible not to have to record a clip first, but to just draw in the notes. To do this, you’d have to make a blank MIDI clip.
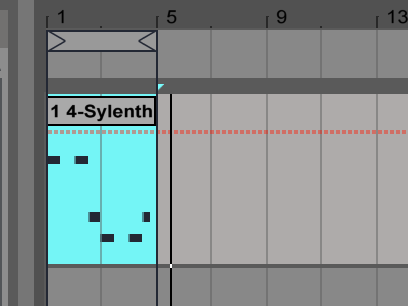
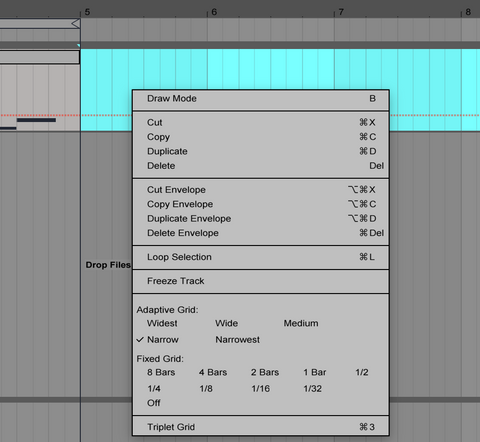
Select an area on the TRACK (at the top, not the CLIP). I selected the blue area:
Next all you have to do is right click in the upper area of the selection (at the level of the ‘bar’ on top of our first clip) - the dropdown menu will show an option ‘Insert MIDI Clip’ - that’s what you need to click.
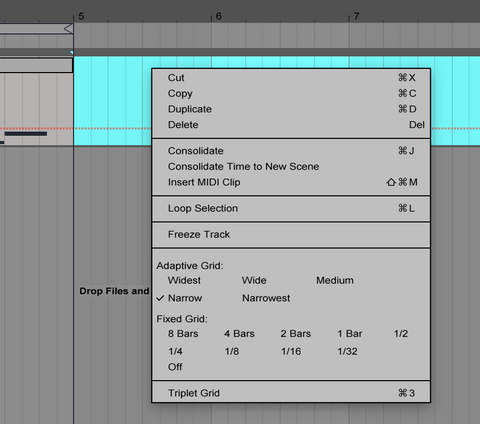
Watch out: If you right click below that area, the dropdown menu won’t display this option.
Now that you’ve got a clip, you could draw in your notes in the Clip View.
Thanks for reading, good luck with your music making!
k-pizza
I’m k-pizza, a chill trap music maker who likes to share his experiences with other producers. I’m regularly going to show up with music and content at PML.
Listen: https://souncloud.com/k-pizza