
Hi! In this beginners tutorial I’m going to show you how to make simple house drum patterns. Here’s what we’re going to make today:
If you'd like to learn more about making music in Ableton make sure to check out our updated 4h+ course - "Making A Track From Start To Finish". It's covering all the basics you need to get started.
We’ve prepared a free sample pack with sounds that we’re going to be using here, so download it before we get started - that way you can follow along. It’s on our freebies page under the name „House Drums [Tutorial]”
If you’ve got any questions leave them under our Facebook post, we’ll be happy to help you out. Then just open up Ableton and follow my steps.
Let’s get started!
1. Quick intro to Ableton
Here’s what Ableton looks like when you open it up for the first time.
This is a view called Session view. For this tutorial, we’re going to switch to the second view called Arrangement view by pressing the Tab key on your keyboard.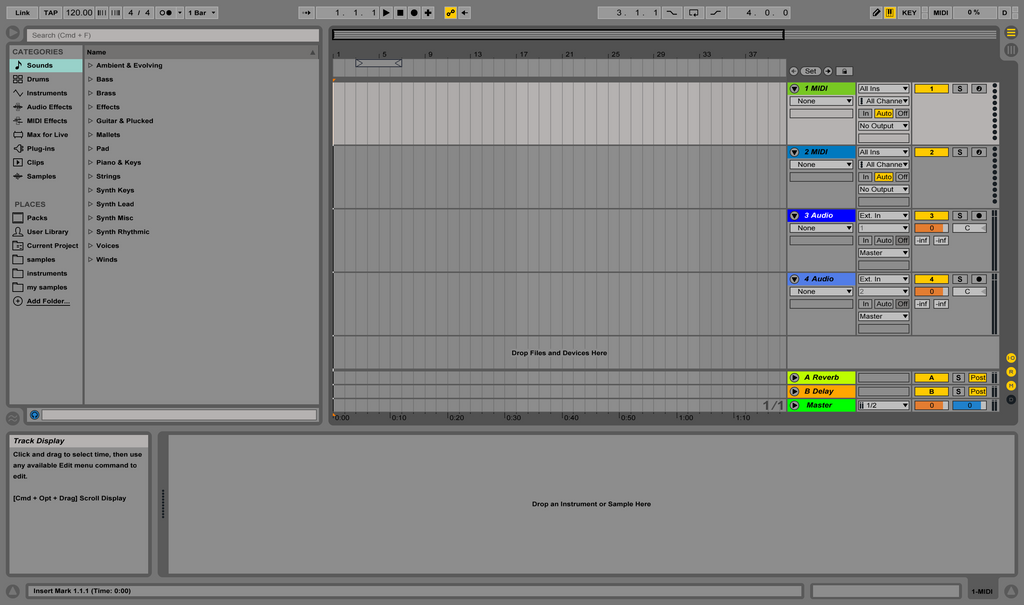
Now you’ll probably see 4 tracks: 2 MIDI tracks and 2 Audio tracks. In this tutorial we’re going to be using only MIDI tracks, so you can go ahead and delete the Audio tracks straight away. Just click on their names and press backspace or delete.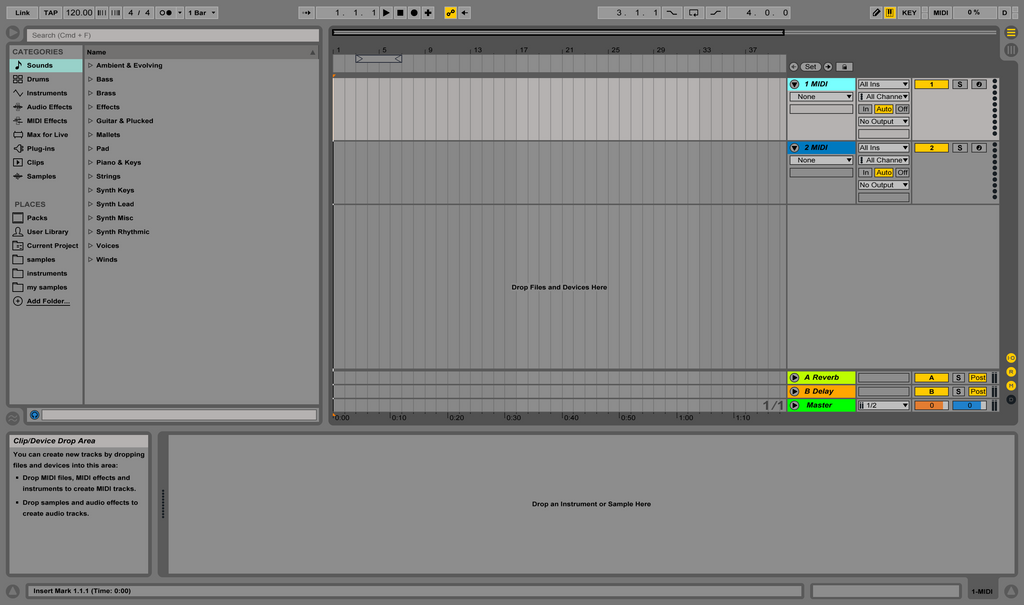
Now make sure you have the first track selected and go to our free samples folder. Find a „kick.wav” file and drag it onto the bottom of the screen like this:

— You can see the sample placed in the bottom left corner of the screen. —
That will load up the sample into a device called Simpler. Bear in mind that I’m using Ableton 9.5 - on older versions Simpler will look a little bit different.
Before we form a kick pattern let’s set the tempo of our track to 70 BPM - click this box in the upper left corner and type in „70”.

Now let’s zoom in at the first bars. To do that click the dark grey area above the timeline. As soon as the mouse turns into a magnifying glass, click and drag it down and you’ll zoom in.

***
2. Making a basic kick pattern
Now we’re going to add a blank clip onto our track so that we can make a drum pattern. Select a quarter of the first bar (from 1 to 1.2 on the timeline), right click in the upper area of the selection and from the dropdown menu select „Insert MIDI Clip”.

Now, to make a pattern in the clip click on it and press **Shift+Tab** to go to the Clip View.
Add a single C3 note at the beginning of the clip by double clicking.
Extend this note by dragging the right end of the red block right. That way we’re making sure we’ll play the whole sample.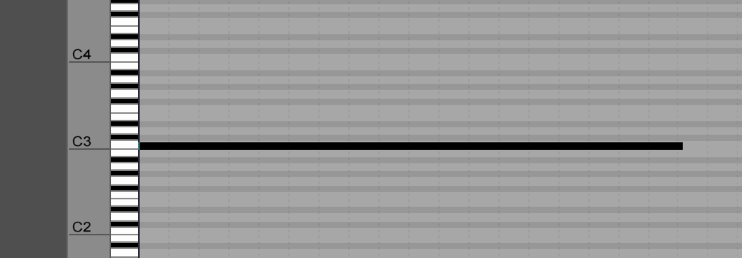
Now that we have a kick, go back into the Arrangement (Shift+Tab) and extend the clip over the whole bar.
If you click at the beginning of the track and press Space, you should hear this basic kick pattern:Before we move on turn down the volume of the kick to -23dB. You can do this by clicking this box and dragging it down or typing in „-23”.
3. Snare
Now let’s make an awesome snare!
For this purpose select the second track and drag the „snare.wav” sample onto the bottom. Just as with the kick, repeat the process of adding a new MIDI Clip and going into the Clip View.
Now insert the Snare sample in the middle of the Clip and extend it by grabbing the red block’s right end.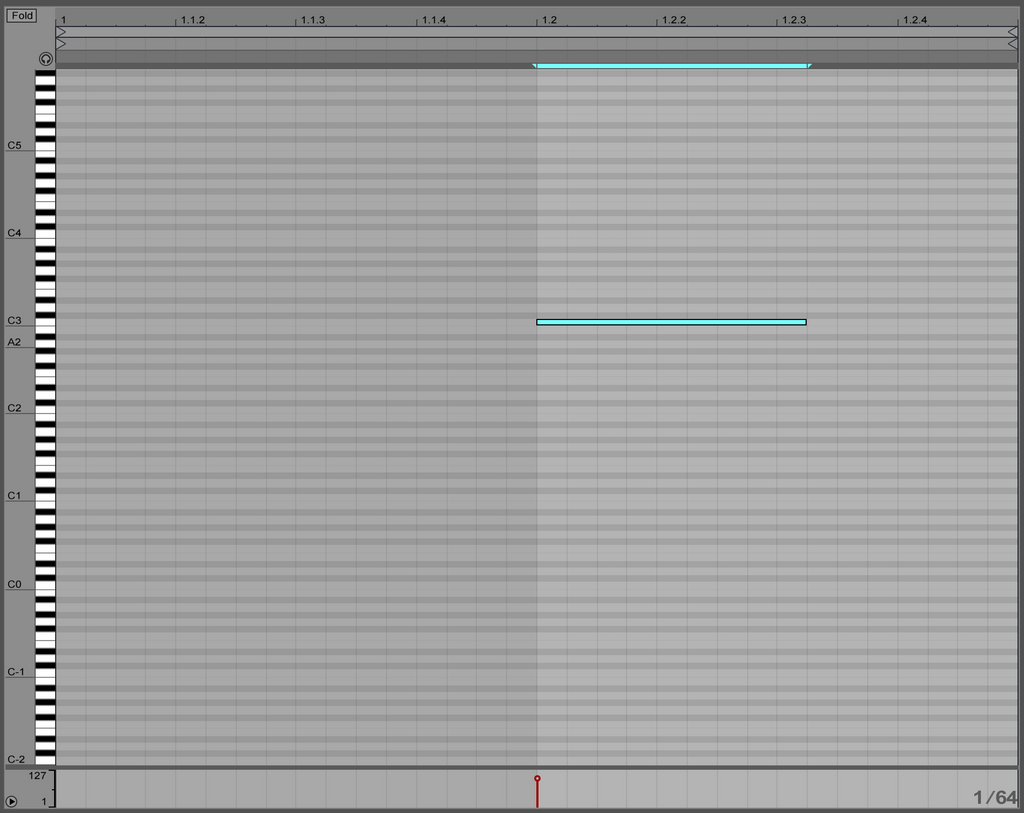
Now if you extend the snare over the whole bar it should sound like this:Let’s apply a cool trick here. We’re going to layer this snare with a clap sound to make it sound more interesting. To do this, click on the Simpler’s name („snare”) and click Cmd/Ctrl+G. That will group our sample into something called Instrument Rack.
An Instrument Rack will allows us to layer sounds inside one MIDI track. Here’s how you do it:
First, you need to click the third icon on the left („Show/Hide Chain List”)
Now find a sample called „clap.wav” in our folder and drag it onto the area where it says „Drop an Instrument or Sample Here”.
Let’s change the clap’s volume to +2dB and the snare’s volume to -6dB.
Result by far:Now we’re going to add some reverb (room echo effect) to add some mood. You’ll find it in Audio Effects in the browser on the left of the program.
To put it onto the track simply double click its name.
Let’s tweak its settings, because the echo is now too muddy and loud. First turn on the Lo Cut and set the filter like this (move the orange circle to this position):
That will make the reverb sound less muddy. Now let’s make it quieter by dragging down the Dry/Wet knob to about 8%. You can just click it, type 8 and click Enter to do the same thing.
Here’s our beat with this little splash of reverb:
4. Hihats
Let’s add hihats to add more groove to the beat. Make a new MIDI track by right clicking the grey area below our tracks and clicking „Insert MIDI Track”
Now drag the „Hihat1.wav” sample onto the track as usual.
On this track we’re going to also play more samples, but not simultaneously like with the snare. A device which allows us to do that is called a Drum Rack. To put a sample onto a Drum Rack, simply right click its name and select „Group to Drum Rack”.
Here’s what a Drum Rack looks like:
You can drag samples onto all the slots on it play them independently - so drag the Hihat2.wav sample onto the C#1 slot.
Now select a quarter of the bar and insert a Midi Clip in there. To quickly do that you can click Cmd/Ctrl+Shift+M after selcting.
Now if you go to the Clip view (Shift+Tab), you’ll see only the C1 and C#2 notes of our Piano Roll. That’s exactly the slots with our two samples (hihat1, hihat2).
Let’s now insert such a pattern onto our clip:
Now change the volumes of each notes by dragging them down like this:
If you extend the pattern over the whole bar in Arrangement view and turn down the volume of the track to -5dB, you should get this sound: To add more mood to the sound, you can copy the Reverb effect from the snare and paste it onto the hihats track. Select the reverb on the snare, click Cmd+C, and press Cmd+V on the hihats track.
5. Percussion
Now we’re going to add some toms. Let’s make a new MIDI track and drag the tom1.wav sample onto it. Just like with the hi hats, right click on the sample’s name and select „group to Drum Rack”. Of course now drag the tom2.wav sample onto the C#1 slot.
Next insert a MIDI clip across the whole bar.
Here’s the positions the MIDI notes you need to insert, as well as their volumes:
Result by far:Now we’re going to add an awesome additional clap from the TR-808 Drum Machine to add variation to the beat. You can use it as an effect near the end of a section in a track.
First let’s extend all our clips over two bars like this:
Now simply create a new Audio track and drop the „TR808 clap reverb.wav” sample here:
Also make sure to turn down its volume (mine is -8dB).
Final Result:Thanks for sticking round until the end! If you’d like to learn more about making tracks in Ableton, check out my new e-book called „Making a Beat from Start to Finish - Beginner’s guide to Ableton”.. Use the techniques from this tutorial to make your own patterns. Good luck with making your house drum patterns.
See you in the next articles!
k-pizza
I’m k-pizza, a chill trap music maker who likes to share his experiences with other producers. I’m regularly going to show up with music and content at PML.
Listen: https://souncloud.com/k-pizza